The Triumph of Minimalism: A Deep Dive into Pi (pi.dev), the Ultimate Terminal Agent Harness
While other AI agents are bloating with complex protocols, sub-agents, and planning modes, Pi (pi.dev) takes the rebel route. As a "minimal terminal coding harness", Pi embraces a "No-MCP, No-Subagent, No-Plan" philosophy. Discover how its dual-queue messaging, JSONL session branching, and TypeScript extensions make it the most powerful developer-centric agent tool on the market.
AIAI AgentPi AgentDeveloper Tools
1866 Words
2026-09-14
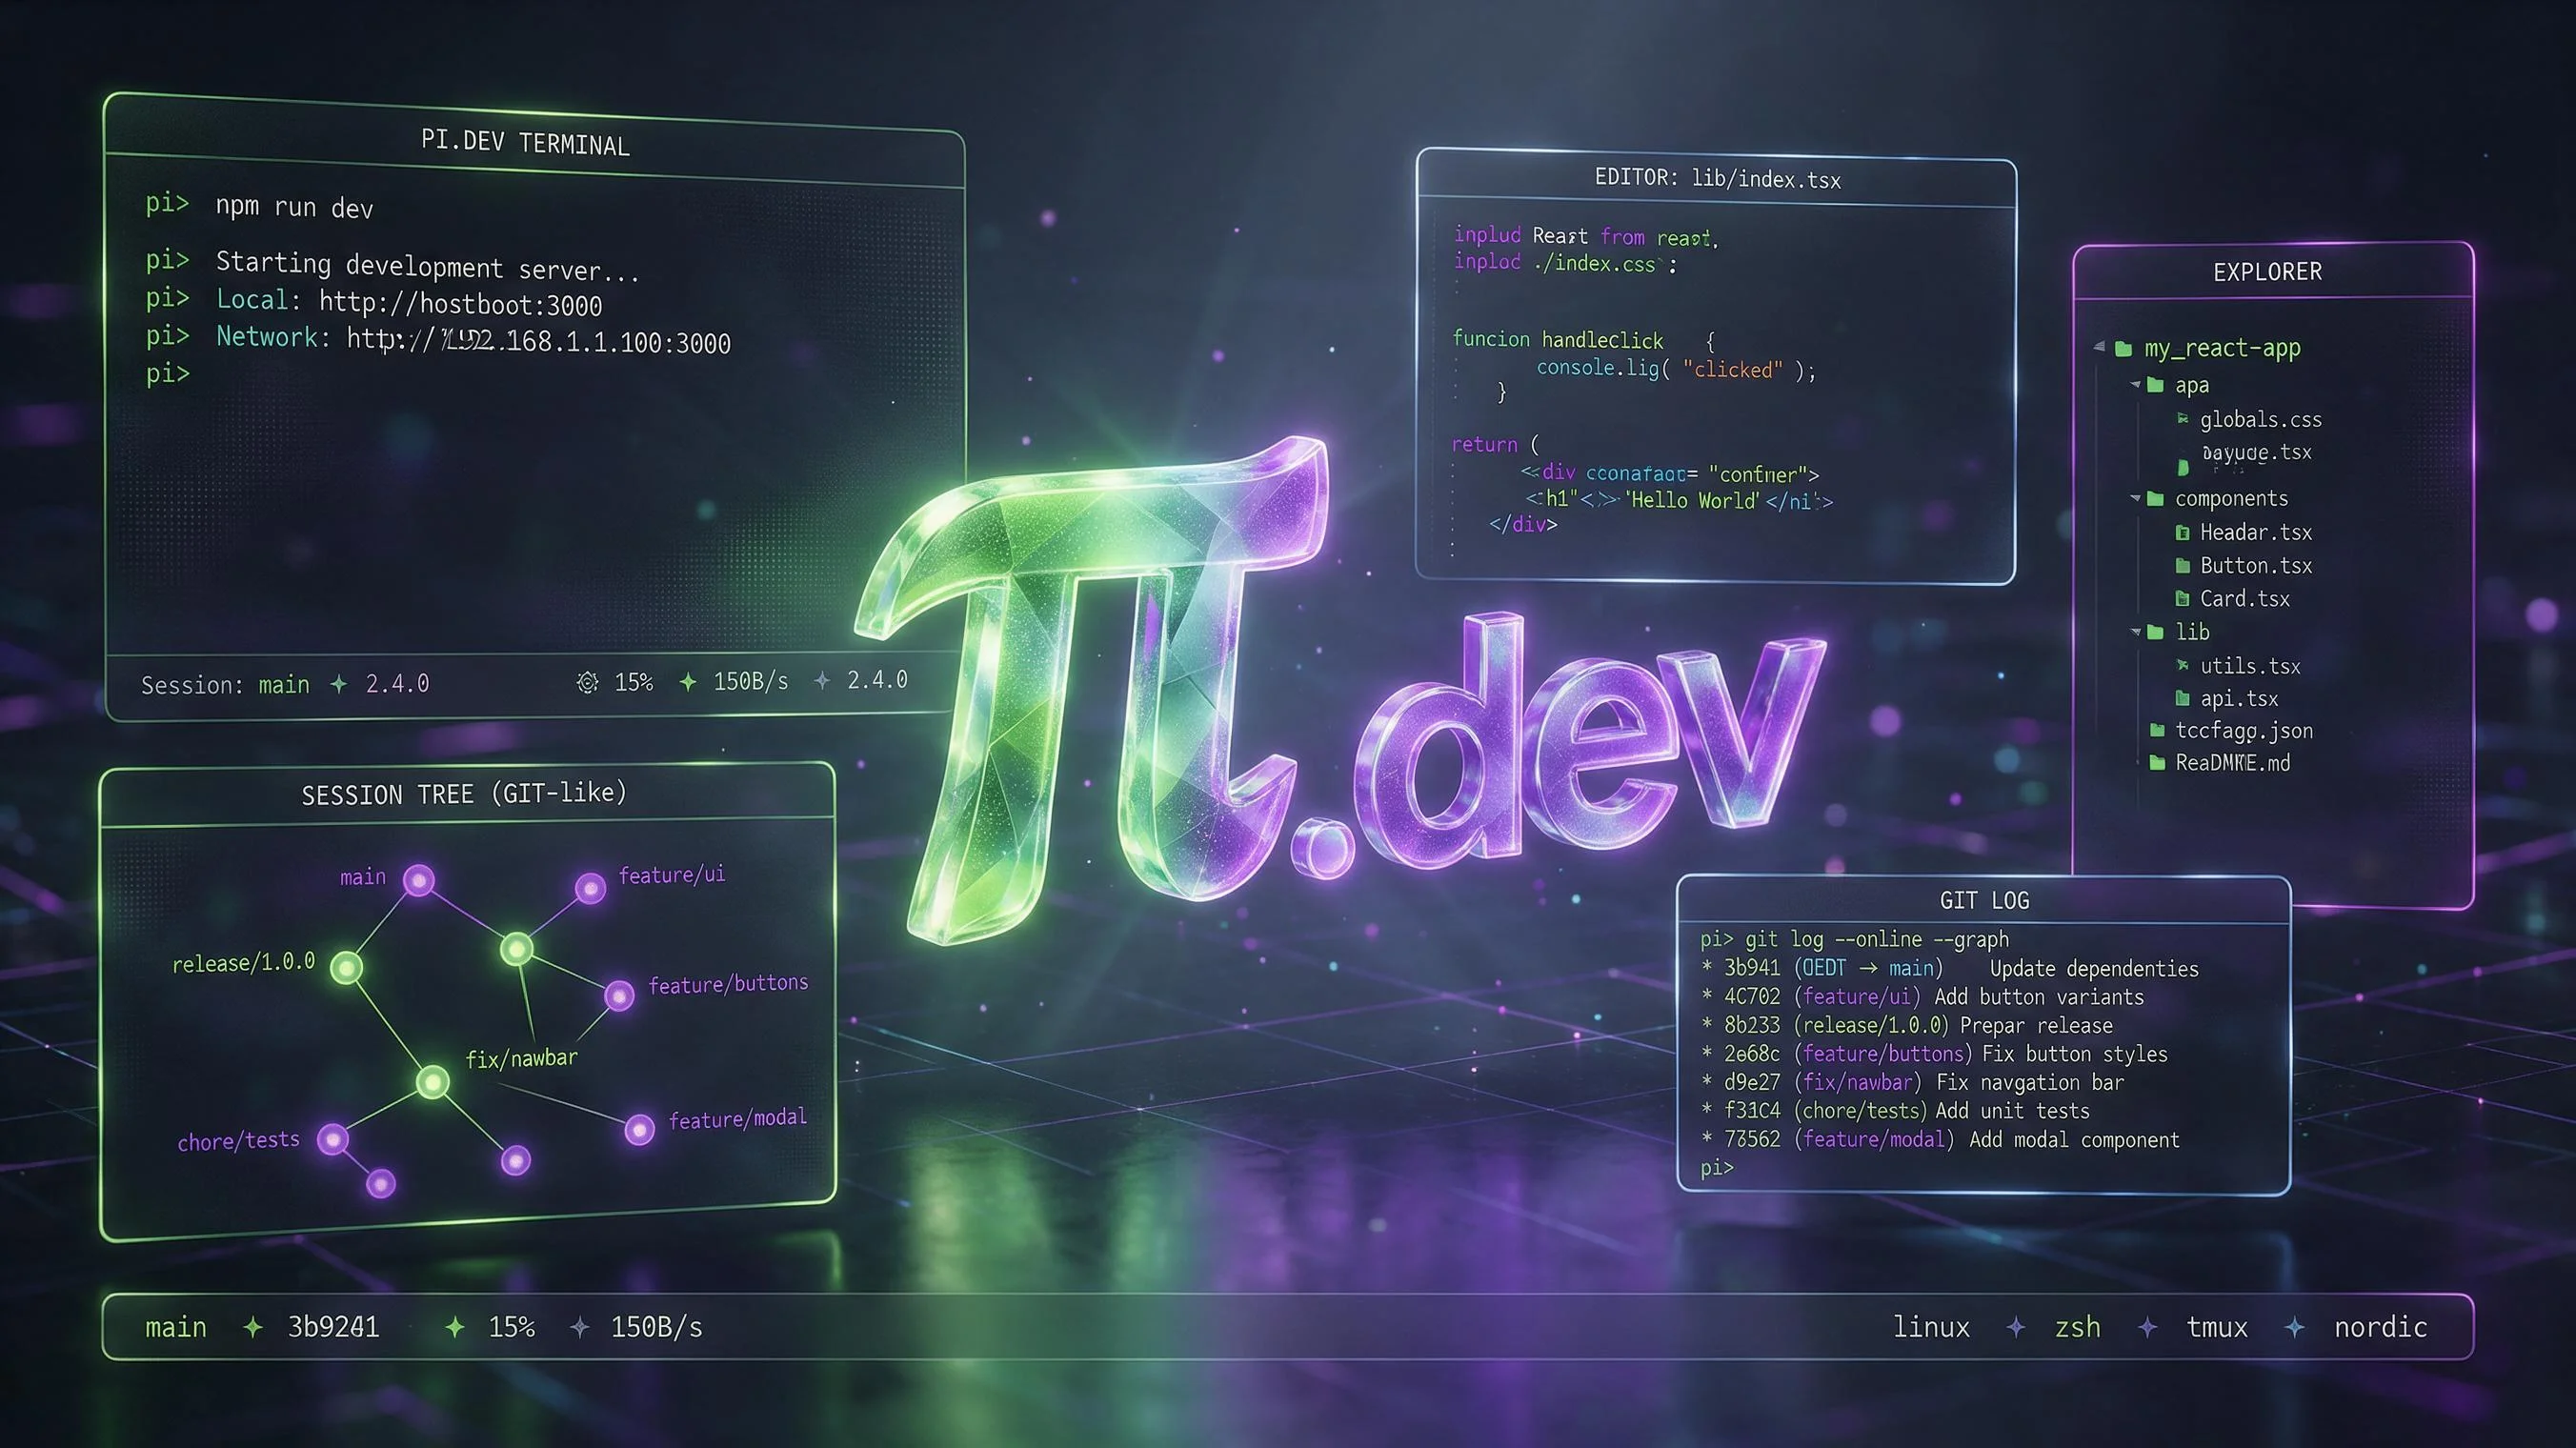
The landscape of AI coding assistants is currently locked in a feature-rich, high-overhead arms race.
Commercial IDEs like Cursor Agent, browser-based tools like Bolt, CLI agents like Claude Code, and open-source extensions like Cline are competing to pack more built-in features: complex multi-agent planning stages, Model Context Protocol (MCP) servers, sandboxed web-browsing containers, and infinite interactive permission popups.
Yet, amid this push towards tooling bloat, a defiant rebel has quietly emerged.
Meet Pi (https://pi.dev).
Crafted by senior hacker Mario Zechner, Pi describes itself as a “minimal terminal coding harness.” It deliberately rejects the mainstream bloat, introducing what the developer community calls the “Five No’s Philosophy.”
But do not mistake Pi’s minimalism for a lack of power. Beneath its sleek Terminal UI (TUI) lies a masterpiece of engineering: a git-like JSONL session tree, an asynchronous dual-queue messaging system, proactive context compaction, and an aggressively extensible TypeScript API that outclasses almost every other agent framework on the market.
In this deep dive, we will skip the surface-level marketing and look at real, production-ready code examples to understand why “doing less” is the ultimate paradigm shift in the AI agent era.
1. The “Five No’s” Rebel Philosophy
In Pi’s official design manifesto, Mario outlines a common pitfall in AI tool design: over-engineering capabilities by wrapping standard Unix systems with redundant web-native layers instead of unleashing the raw power of the CLI.
To counter this, Pi explicitly strips away five mainstream features:
I. No MCP (No Built-in Model Context Protocol)
“Why wrap tools in verbose JSON schemas when you can write a clean, readable CLI README instead?”
MCP is currently the tech world’s darling. However, as Mario argues in his blog post What if you don’t need MCP?, the Unix Command Line Interface (CLI) is already the ultimate, most mature standard protocol between humans, machines, and LLMs.
MCP forces developers to write heavy JSON descriptions and client-server bindings. All this metadata is dumped directly into the LLM’s prompt at startup, consuming massive context windows before you even type your first prompt. Pi rejects this. Instead, it adopts the lightweight, markdown-based Agent Skills standard. Skills are strictly lazy-loaded: only their name and a one-sentence summary live in the initial prompt. When the AI decides it actually needs a skill, only then does it fetch the full markdown guide.
II. No Sub-Agents
The overhead of spawning child agents and passing contexts back and forth leads to massive token waste and lossy handoffs. Pi’s core runtime remains single-threaded and focused. If you need multi-tasking, opening another Pi instance in a separate tmux pane is a far cleaner and more standard terminal workflow. However, if you do require a specific sub-agent behavior for a unique business need, Pi’s TypeScript Extension API lets you script your own delegator in a dozen lines of code.
III. No Permission Popups
Constant prompts like “AI wants to run npm build, Allow/Deny?” break the developer’s focus and interrupt the LLM’s chain-of-thought reasoning. Pi’s approach is uncompromising: either you trust the project directory (using Pi’s robust Project Trust boundary) and run it in a container/sandbox, or you don’t. If you absolutely need to restrict dangerous paths, you can write a tiny TypeScript Extension to intercept and guard those commands programmatically.
IV. No Plan Mode
Many tools force a tedious “Planning Stage” before any action is taken, printing long outlines and waiting for human approval. During large-scale refactoring, this burns expensive tokens and introduces heavy latencies. Pi believes maintaining a plain text TODO.md in the workspace is the most explicit, reliable, and collaborative way for humans and AI to co-author a roadmap.
V. No Background Bash
Having an AI silently running background scripts in your active repo is a security nightmare and strips away developer control. In Pi, every tool execution is streamed explicitly inside the interactive TUI. If a service needs to run long-term, you simply spin it up in tmux—full observability, immediate termination.
2. Technical Masterpieces Under the Hood
While philosophically minimal, Pi’s technical execution is incredibly sophisticated:
I. Git-like JSONL Session Tree
The most liberating feature of Pi is its session branching. Traditional agents operate on a linear chat history; if the LLM hallucinatingly breaks your codebase, your history gets polluted, or you’re forced to delete the entire chat and start over.
Pi records sessions as structured JSONL nodes containing id and parentId markers. By pressing Escape twice in interactive mode, you summon a visual /tree manager:
- Instant Rollback: Highlight any previous bubble and resume from that exact historical state.
- Session Forking: Use
/forkto branch a separate session file from any historical node. - Session Cloning: Use
/cloneto duplicate your active path into a new session, keeping your original workspace safe.
This makes high-risk, experimental refactoring completely risk-free.
II. Asynchronous Dual-Queue Messaging
When standard terminal agents are running a long tool loop, your keyboard is locked. You can only press Ctrl+C to abort.
Pi solves this with a dual-queue messaging system:
- Steering Messages (Press Enter): Type a message while the agent is executing a tool and hit Enter. Pi holds it in queue and delivers it to the LLM the split second the active single tool call finishes. This allows you to immediately steer the AI back on track without waiting for a 10-step loop to finish.
- Follow-up Messages (Press Alt+Enter): Type a message and hit Alt+Enter. This queues your request to execute only after the agent has completed all active work and returned to an idle state.
3. Hands-on Tutorial: Practical Skills & Extensions
Let’s bridge theory and practice with two real-world, executable code templates showing how to customize Pi to your exact engineering needs.
Example A: Creating Your First Automated Pytest Skill
Suppose you are developing a Python web project and want Pi to autonomously debug and fix test suite failures without deviating into wrong paths. Under MCP, you’d need an extensive environment pipeline. In Pi, you simply document the workflow in .agents/skills/pytest-runner/SKILL.md:
# Pytest Runner Skill
Use this skill when the user asks to run, troubleshoot, or fix Python test errors.

## Context
Applies when a Python test suite is present (indicated by a `tests/` directory or `test_*.py` files).

## Debugging Pipeline
1. **Execution**: Run `pytest -v` via the bash tool to collect detailed verbose failure logs.
2. **Analysis**: Inspect the lowest traceback or `AssertionError` to pinpoint the failing line and source file.
3. **Dependencies**: If the trace reveals a missing package (`ModuleNotFoundError`), run `pip install <package>` and re-run.
4. **Correction**: Carefully read both the test module and the code implementation. Use the edit/write tools to apply precise bug fixes.
5. **Verification**: Always run `pytest -v` again after making modifications. Do not announce a task success until all tests return PASSED.
When you open Pi and prompt: “Fix the failing tests in my repository.”
- Pi lazy-loads the skill definition (keeping context consumption ultra-lean).
- The LLM invokes
/skill:pytest-runneronce it recognizes the pytest context. - It executes the steps rigidly, guaranteeing a robust “test -> debug -> repair -> verify” loop.
Example B: Scripting a Custom Git-Snapshot Extension
Before executing massive, high-risk refactoring jobs, developers always worry about the AI ruining dirty work directories. Let’s build a TypeScript Extension that intercepts major edits, automatically stashes changes onto a temporary backup branch (pi-snapshot-<timestamp>), and registers a handy command to checkpoint manually.
Write this executable script into .pi/extensions/git-snapshot.ts:
import { ExtensionAPI } from "@earendil-works/pi-coding-agent";
import { execSync } from "child_process";

export default function (pi: ExtensionAPI) {
  // 1. Register a tool accessible to the LLM
  pi.registerTool({
    name: "create_git_snapshot",
    description: "Create a temporary git snapshot branch before performing major code refactoring or risky operations.",
    execute: async () => {
      try {
        const timestamp = Date.now();
        const branchName = `pi-snapshot-${timestamp}`;

        // Check if there are dirty files in git status
        const isDirty = execSync("git status --porcelain").toString().trim().length > 0;
        if (!isDirty) {
          return "✓ Current git working tree is clean. No snapshot needed.";
        }

        // Git snapshot flow: stage all, commit, create safety branch, rollback master
        execSync("git add -A");
        execSync(`git commit -m "Pi auto-snapshot: before refactoring" --no-verify`);
        execSync(`git checkout -b ${branchName}`);

        // Checkout parent branch and reset working tree to initial state
        execSync("git checkout -");
        execSync("git reset --hard HEAD~1");

        return `✓ Successfully created a safe snapshot on temporary branch [${branchName}]. If things go wrong, rollback using 'git checkout ${branchName}'.`;
      } catch (err: any) {
        return `✗ Failed to create git snapshot: ${err.message}`;
      }
    }
  });

  // 2. Register a slash command manually runnable in TUI editor
  pi.registerCommand("checkpoint", {
    description: "Create a local git checkpoint manually",
    execute: async () => {
      pi.emitMessage("🔧 Creating a manual git stash checkpoint...");
      try {
        const isDirty = execSync("git status --porcelain").toString().trim().length > 0;
        if (!isDirty) {
          pi.emitMessage("✓ Working directory is clean. Checkpoint skipped.");
          return;
        }
        execSync("git stash push -m 'Pi manual checkpoint'");
        pi.emitMessage("✓ Successfully stashed your changes to 'Pi manual checkpoint'. Use 'git stash pop' to restore.");
      } catch (err: any) {
        pi.emitMessage(`✗ Checkpoint failed: ${err.message}`);
      }
    }
  });
}
Running the Extension:
With Pi running, tell the AI: “Refactor the auth controller, but take a snapshot first.”
- The LLM triggers the tool: You will see the AI output a terminal line indicating it has called
create_git_snapshot. It spins up api-snapshot-1721000000branch immediately behind the scenes. - Manual command override: At any point, you can type
/checkpointin the editor. Pi intercepts this custom slash command and executes the backup script populating your local Git stash.
4. Practical FAQ
Q1: Why do we install Pi with the --ignore-scripts flag?
It is a crucial security best practice. Using --ignore-scripts stops npm from executing potentially hazardous lifecycle scripts inside dependency chains.
Q2: Since Pi doesn’t use permission prompt popups, how do I prevent malicious commands from executing?
The recommendation is simple: run Pi in isolated environments. Run Pi inside a sandboxed Docker container, a VM, or a DevContainer. You can mount your working directories into the container safely. Without nagging popups, the LLM runs at 100% efficiency while your local host remains completely untouchable.
Q3: Why does Alt+Enter not trigger the follow-up queue on Windows Terminal?
Windows Terminal maps Alt+Enter to “Toggle Fullscreen” by default. This overrides Pi’s TUI. To fix this, open your Windows Terminal keyboard bindings (settings.json) and unbind or map fullscreen elsewhere to let Pi receive the queue hotkey.
Q4: How do I disable the bash tool entirely, making the agent read-only?
You can control tool availability using startup flags. To restrict Pi to code-review-only, run:
pi --tools read,grep,find,ls
This strips away write, edit, and bash access, forcing the LLM to function exclusively as a high-precision reviewer.
5. Verdict: Why Harness Minimalism Wins
The arrival of pi.dev is a breath of fresh air in an increasingly bloated AI market.
It proves a critical point: The absolute best AI developer tool isn’t one that dictates a complex, opinionated workflow. It is one that provides a rock-solid, completely transparent, and infinitely customizable runtime harness.
If you are a terminal-loving developer who demands absolute control, values context hygiene, and wants an AI that adapts to your workflow—not the other way around—Pi is the ultimate weapon of choice.
Install it today and experience true terminal minimalism:
npm install -g --ignore-scripts @earendil-works/pi-coding-agent
export ANTHROPIC_API_KEY=your_key_here
pi
The era of adapting to bloated tools is over. With Pi, build the harness you deserve.
Comments
Join the discussion — requires a GitHub account